"Fast Food" Dinner Bowl at the Ramsdens
/Quick, easy, delicious, and adjustable to each specific taste desires! This is what fast food should be.
Read MoreQuick, easy, delicious, and adjustable to each specific taste desires! This is what fast food should be.
Read MoreINGREDENTS:
2 lbs. ground beef
4 tablespoons canola or olive oil
1 onion diced
3 cloves garlic minced
1 can Rotel tomatoes
2 cups beef broth
2 cups chicken broth
3 cups tomato juice
1 tablespoon chili powder
1½ teaspoons ground cumin
2 tablespoons Worcestershire Sauce
1 tablespoon bottled steak sauce your favorite
1 can black beans
1 can red beans
1 can whole kernel corn
Juice of ½ fresh lime
Suggested Toppings:
Fresh lime juice
Fresh chopped cilantro
Tortilla chips like regular Tostitos
Shredded Cheese
Sour Cream
Avocado slices
DIRECTIONS:
Heat oil over medium heat in a large Dutch oven or soup pan. Add chopped onion and sauté until translucent. Add minced garlic and cook and additional 30 seconds.
Add remaining ingredients, cover and bring to a boil. Once soup is at a boil, reduce heat to low and simmer 45-60 minutes.
Serve while hot, adding toppings as desired.
Create your own healthy beef broth. Adapted from Sharon Brown’s book, “Healing Bone Broth Recipes”.
Read MoreA great recipe for that roast rattling around in the bottom of your freezer.
Read MoreMelt in your mouth hamburgers with white cheddar and garlic.
Read MoreOur family loves this dish, which is delicious with one of several cuts of meats. The flexibility of using whatever vegetables your family prefers makes this great for all kitchens. What vegetables will you put in it?
Read MoreAn easy to prepare beef version of the classic family favorite!
Read MoreEasy to prepare with a wonderful aroma to come home to, this rich stew is certain to please. Give yourself around 20 minutes of prep. time, and 8 hours or so in the crock pot on low, or as little as 4 hours on high.
Read MoreWith this recipe, the spices are brushed on the outside, which allows you to notice the spice and then the beef flavor after that!
INGREDIENTS:
2-3 Tbl. mayonnaise
2 tsp. Worcestershire sauce (a couple teaspoons?)
1 lb ground beef
Spicy Oil Blend:
50 ml saffola / canola or light olive oil
1/4 tsp. cumin
1/4 tsp. onion powder
1/4 tsp. garlic powder
1/4 tsp. paprika
1/4 tsp. pepper
Salt to taste: Some people think that adding salt to the meat draws the water out of the burger - drying them out. To avoid this, add salt near the end of grilling.
DIRECTIONS:
Mix the first three ingredients and then form into 3-4 patties.
Dimple the middle to help prevent bulging.
Brush both sides with the spicy oil blend.
Grill till still slightly pink in the middle.
Ingredients:
2 lbs. grass-fed Ground beef from Mountain Beef. (We make 5 large burgers with this amount of beef)
4 Tablespoons Worcestershire Sauce
Salt and pepper to taste
Additional seasonings to consider (but keep on the light side, as too much seasoning may make the patties fall apart)
• Garlic
• Onion
• Cayenne or Red Pepper, of you like a hint of heat
Optional:
Grated Cheddar Cheese

Instructions:
Thaw the burger in the refrigerator or on the counter. Three days in our frig works great.
Heat your grill to approximately 500°. (We are loving our Traeger Grill, and they aren’t paying us to say so!)
Put the thawed meat and seasonings in a large bowl and mix to combine.
If desired, mix in about a cup of shredded cheese.
Form into patties, tucking in the edges till there are no cracks, but avoid overworking the meat.
Aim at a minimum of 3/4 inch thickness, as the thicker patties help keep in the moisture.
Allow to sit on the counter, or in the frig. for 10 min. or so to help the burgers keep their shapes.
Grill for 4-5 min. on one side.
Flip to the second side
Grill for 2-3 minutes, then add cheese slices and grill for an additional 2 min.
If you like your burgers well done, go with the longer times, however, most grass-fed beef lovers aim for a less done burger, which helps keep the lower fat meat moist.
If your meat is very cold when you put it on the grill, you may want to aim for tor the longer grill time.

Remove from grill and dress your burger as desired.
We love bacon, tomatoes, bbq sauce and / or mustard, pickles, and lettuce. A couple of people around our house love a few grilled onions or mushrooms.
Did we miss an ingredient your household loves on burgers? Let us know!
We want you to enjoy the most flavorful, tender, juicy steak ever…. So here is the method, and seasonings we use for our “best steak ever”. Feel free to alter the seasonings to your own preference, but keep in mind the methods presented here will benefit the tenderness and flavor no matter what cut or seasoning.
1. Start ahead of time!
Mark tells all of our beef purchasers to plan ahead, and he doesn’t mean only one day ahead either! Get your meat out of the freezer and let it thaw in the refrigerator for four or five days. This provides time for the meat to thaw and tenderize.
2. Bring them up to temperature.
Start with the steaks. Take them out of the refrigerator, season them, and let them marinate on the counter for 15-50 min. (If you wish to marinate them longer, we recommend doing so in the refrigerator.) While the steaks are soaking in that flavor, heat up your grill. Get it plenty hot. Hot enough to sear in the juices when the steaks are put on the grill. If your steaks are thick, turn the heat down immediately after putting the steaks on the grill to cook them through. But before you put those steaks on…
3. Pat them dry.
Dry steaks sear so much better than wet ones! If you feel you have rubbed off too much of your seasoning - you can always add more.
4. Cover the grill!
Put a lid on the grill immediately after putting your steaks on it. This helps the steaks cook more evenly. After 5 min. gently turn the steaks to the other side. Avoid moving them once you have turned them. No matter the utensil you use, pushing the meat around releases the juices, instead of keeping them in the meat - so handle the meat as little as possible. Remember to put the lid back on the grill!
5. Don’t overcook your meat.
In general, grass-fed beef requires 30% less cooking time than grain-fed. On some grills, maintaining an even temperature throughout the cooking time can be a challenge - so instead of a blanket cooking time statement, try the finger test method for checking the doneness of your meat. - see explanation here - Also remember that your meat will continue to cook for a short period of time after being removed from the grill… so remove it slightly before it is at your desired state of “done”.

Kirkland brand Sweet Mesquite Seasoning
Our favorite seasonings:
Sweet Mesquite Seasoning. Not so much as to cover the meat - but enough that you recognize it is on there.
Granulated garlic. You can use fresh garlic if you prefer - just rub it into the raw meat with the back of a spoon before dusting with the other flavorings.
Salt and Pepper. While the amount of salt and pepper tends to be a personal preference, in general, the meat will taste more evenly salted if the salt is allowed to marinate on the meat for at least 30 min. before cooking.
A tsp. or so of Worcestershire sauce (per steak). It is our observation that this liquid seems to help the meat absorb more of the other seasonings.
Sometimes we add a tsp. or so of Liquid Smoke. Primarily we use this during the colder months when we grill indoors with our electric grill.
Here’s a way to impress your visiting friends and family with a delicious Italian dinner, while still having time to visit with them. This easy lasagna can be assembled and in the oven before your guests arrive. The recipe is forgiving and flexible - as long as you remember to seal the dish VERY WELL before cooking. In my experience, this lasagna freezes well, so try doubling the recipe, and pull a ready-made meal out of the freezer for another dinner. (Just get it out significantly ahead of time to thaw.)

INGREDIENTS:
1-2 lbs. lean ground beef
2-3 Tbls. olive oil
SEASONING:
1/4 cup dried minced onion
1 tsp. beef flavoring (or 1 bouillon cube)
1/4 tsp. pepper
1 1/2 Tbsp. Italion Seasoning
1/2 tsp. garlic salt
1/2 tsp. seasoning salt
1 Tbsp. Worchester sauce (optional but delicious)
28 ounce can diced/stewed tomato
10 3/4 oz. tomato sauce
1 pint cottage or ricotta cheese (can use more if desired)
1 beaten egg
Lasagna Noodles - not precooked!
1 box or less (I have made this recipe using rice noodles and it worked equally well.)
1 lb. (or more) grated mozzarella, monterey jack or cheddar cheese
Optional: Olives, Basil, spinach
Non-stick spray
9” x 13” cassarole dish
DIRECTIONS:
Preheat oven to 375°
Fry ground beef with 2-3 Tbls. olive oil.
Add in the onion while cooking the beef.
As the beef is done, stir in the remaining seasonings, and then the tomatos.
Simmer for 2-5 min. while preparing the cottage cheese mixture.
In a separate container, beat the egg, then mix in the cottage or ricotta cheese. (I love cottage cheese in Lasagna, but some people don’t. I often use almost double the amount of cottage cheese that this recipe calls for - but don’t tell my husband!!! ;-)
Use a deep 9” x 13” cassarole dish, or one with a lid so that the foil doesn’t stick to the cheese.
Spray dish with non-stick spray for easier clean up.
ASSEMBLY:
Start with a thin layer of your simmered meat sauce and add in 1/4 cup of water.
Next add a layer of uncooked lasagna noodles.
Add another layer of meat sauce.
Next spread a portion of your cottage cheese mixture over the meat sauce.
Add a layer of cheese (I sometimes omit the cheese in the center of the lasagna)
Repeat the noodle, meat sauce and cottage cheese layers until your dish is filled to slightly below the lip. Overflowing lasagna is not fun to clean out of the oven!
If you like olives in your lasagna - you can add them in the meat sauce, or on top before the cheese.
Top with a thicker layer of shredded cheese.

Layer your lasagna - additional water on the bottom layer only!

Pinch the edges of the foil covering to provide a tight seal.
Cover WELL with foil or glass lid. If using foil, I suggested running your fingers all the way along the edge of your dish several times “crimping” the edges so that you “seal in” the moisture.
Sometimes I substitute a layer of spinach and basil in place of one noodle layer - Yummy!
COOK:
Bake 1 hr. at 375°

Enjoy!
If you wish to put this in the freezer - do so after cooking it, and keep in mind that the result is a dense dish, so it needs to come out of the oven in time to thaw before being re-warmed as a whole in the oven or “by the serving” in the microwave.


The perfect Pumpkin!
Mark and Kyla at Johnson’s Pumpkin Patch.
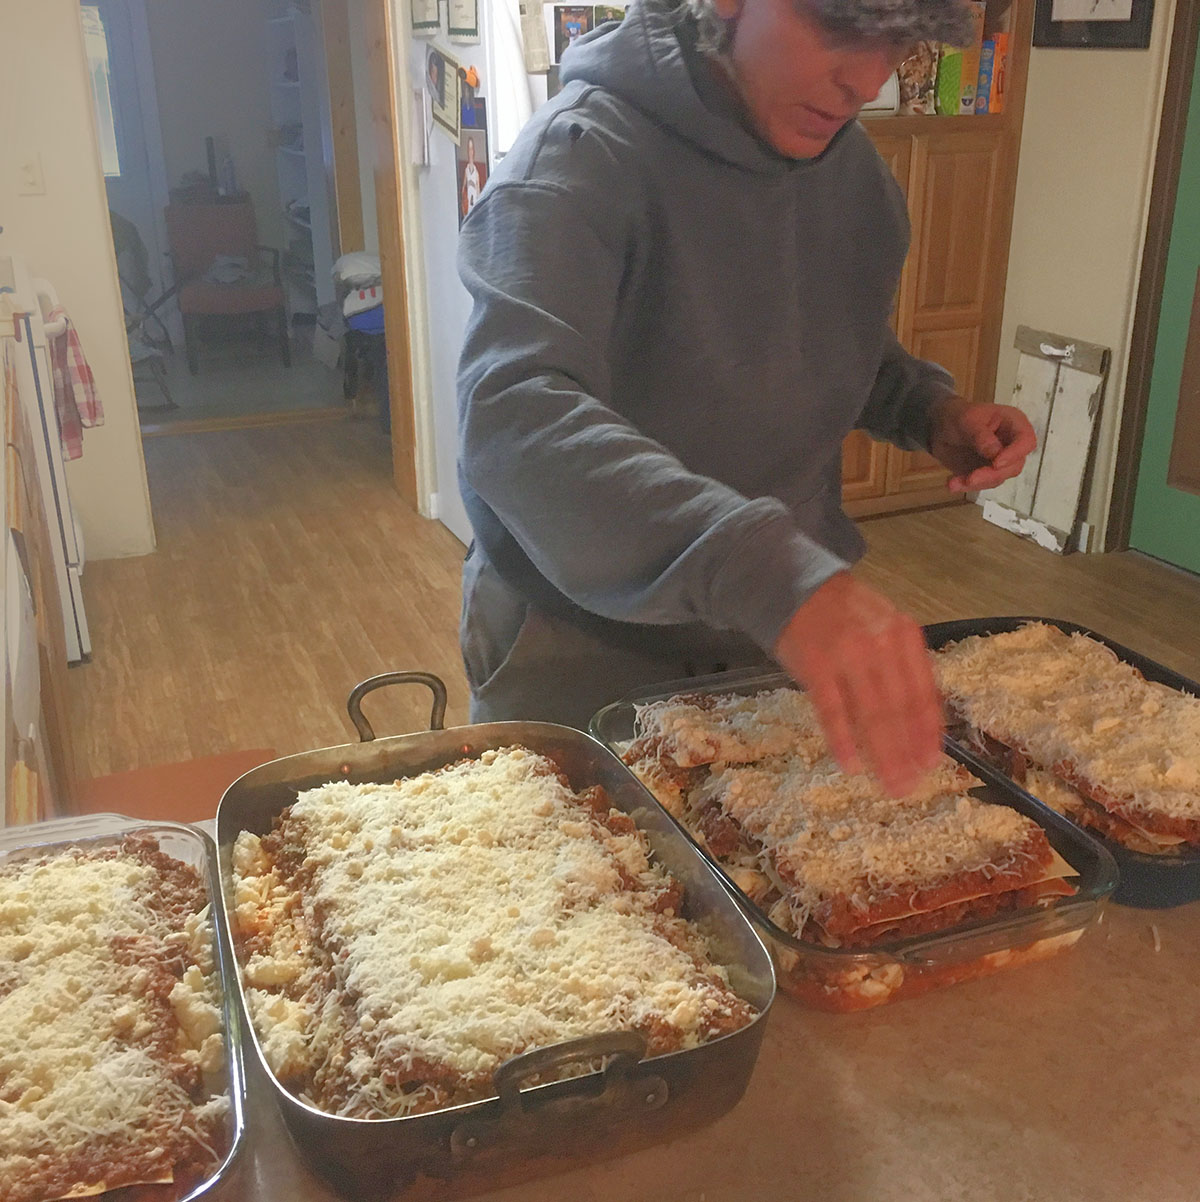
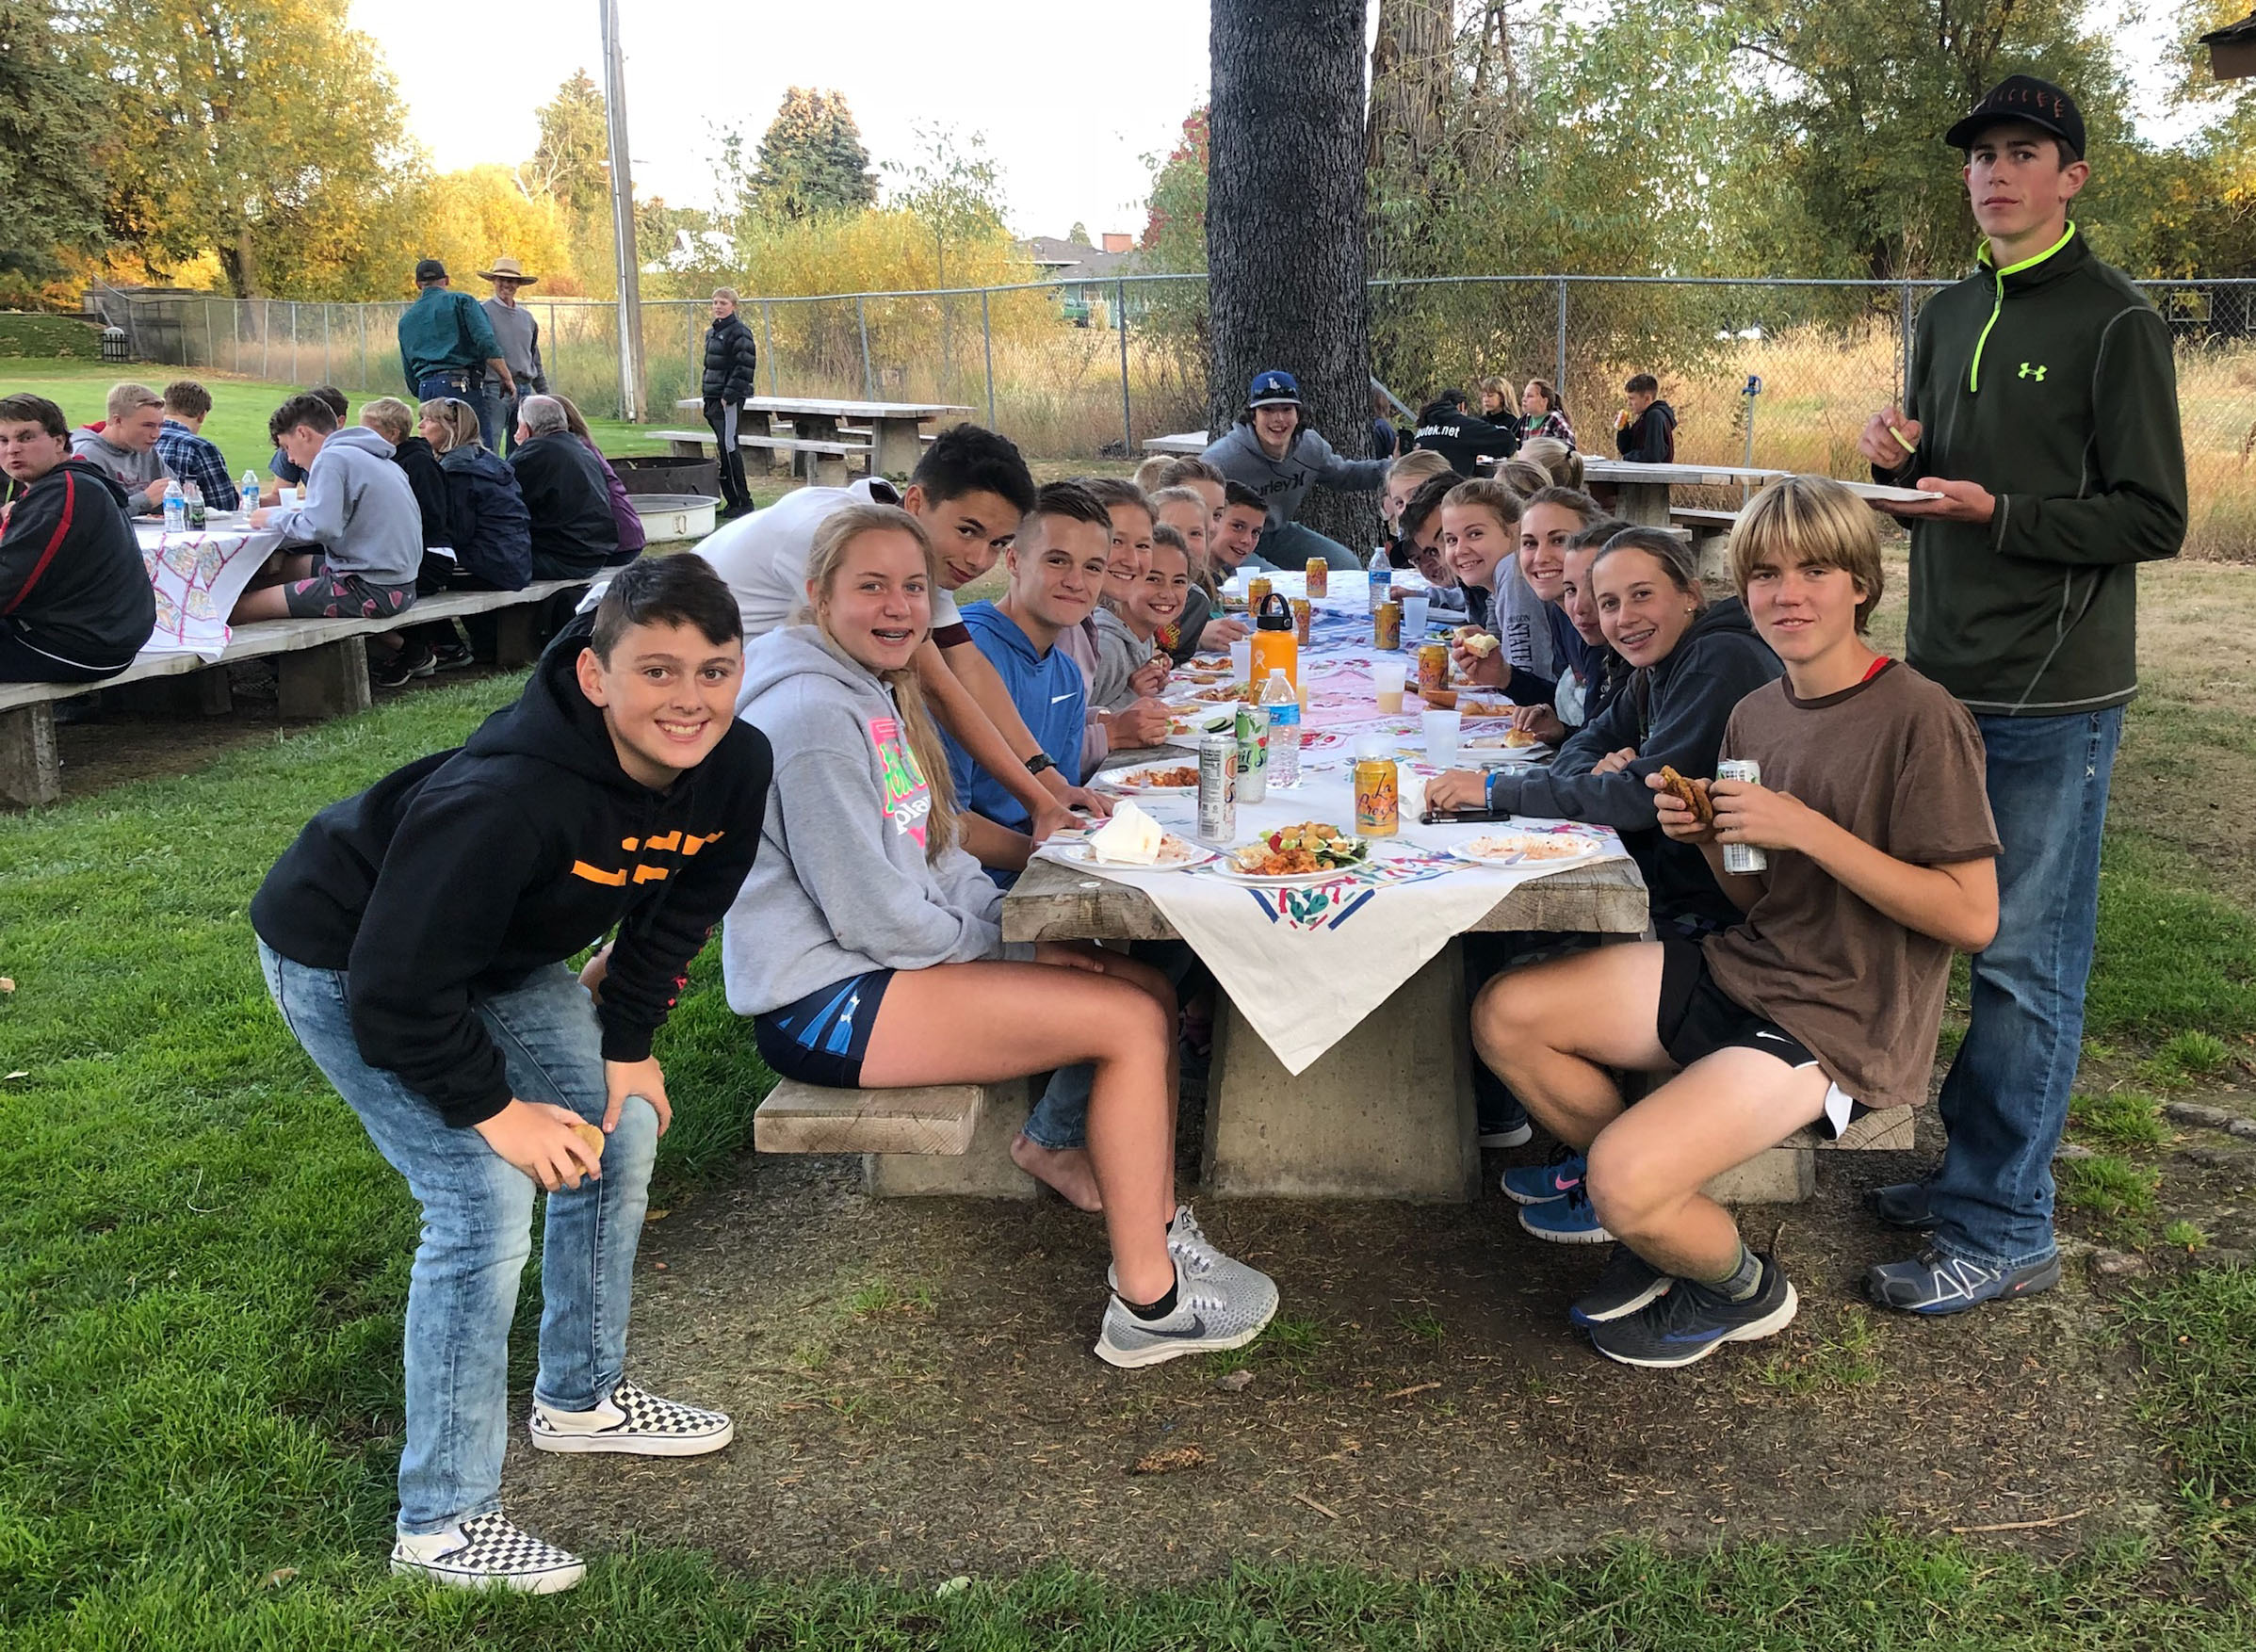
Amy has been busy lately… making lasagna! First she fed Kyla’s cross country team, and the next week the Wallowa High School Football team. During the process, she cemented the idea that good neighbors are invaluable! With too many lasagnas to fit in Amy’s oven, neighbor, Barbara Hilde (age 90) put a couple in her oven as well. The Teams were thrilled… sorry, there is none left.
Nobody turned down mountain beef lasagna!


Four Lasagnas assembled in under an hour! Amy can do that. Lasagna Recipe coming soon! Join our Mailing list by filling out the form on the right to be notified when we post new recipes and articles.

Cross country team dinner with Mountain Beef lasagna! Kyla seated second on right.

Wallowa High School football team, Huskers prayer after game tradition.

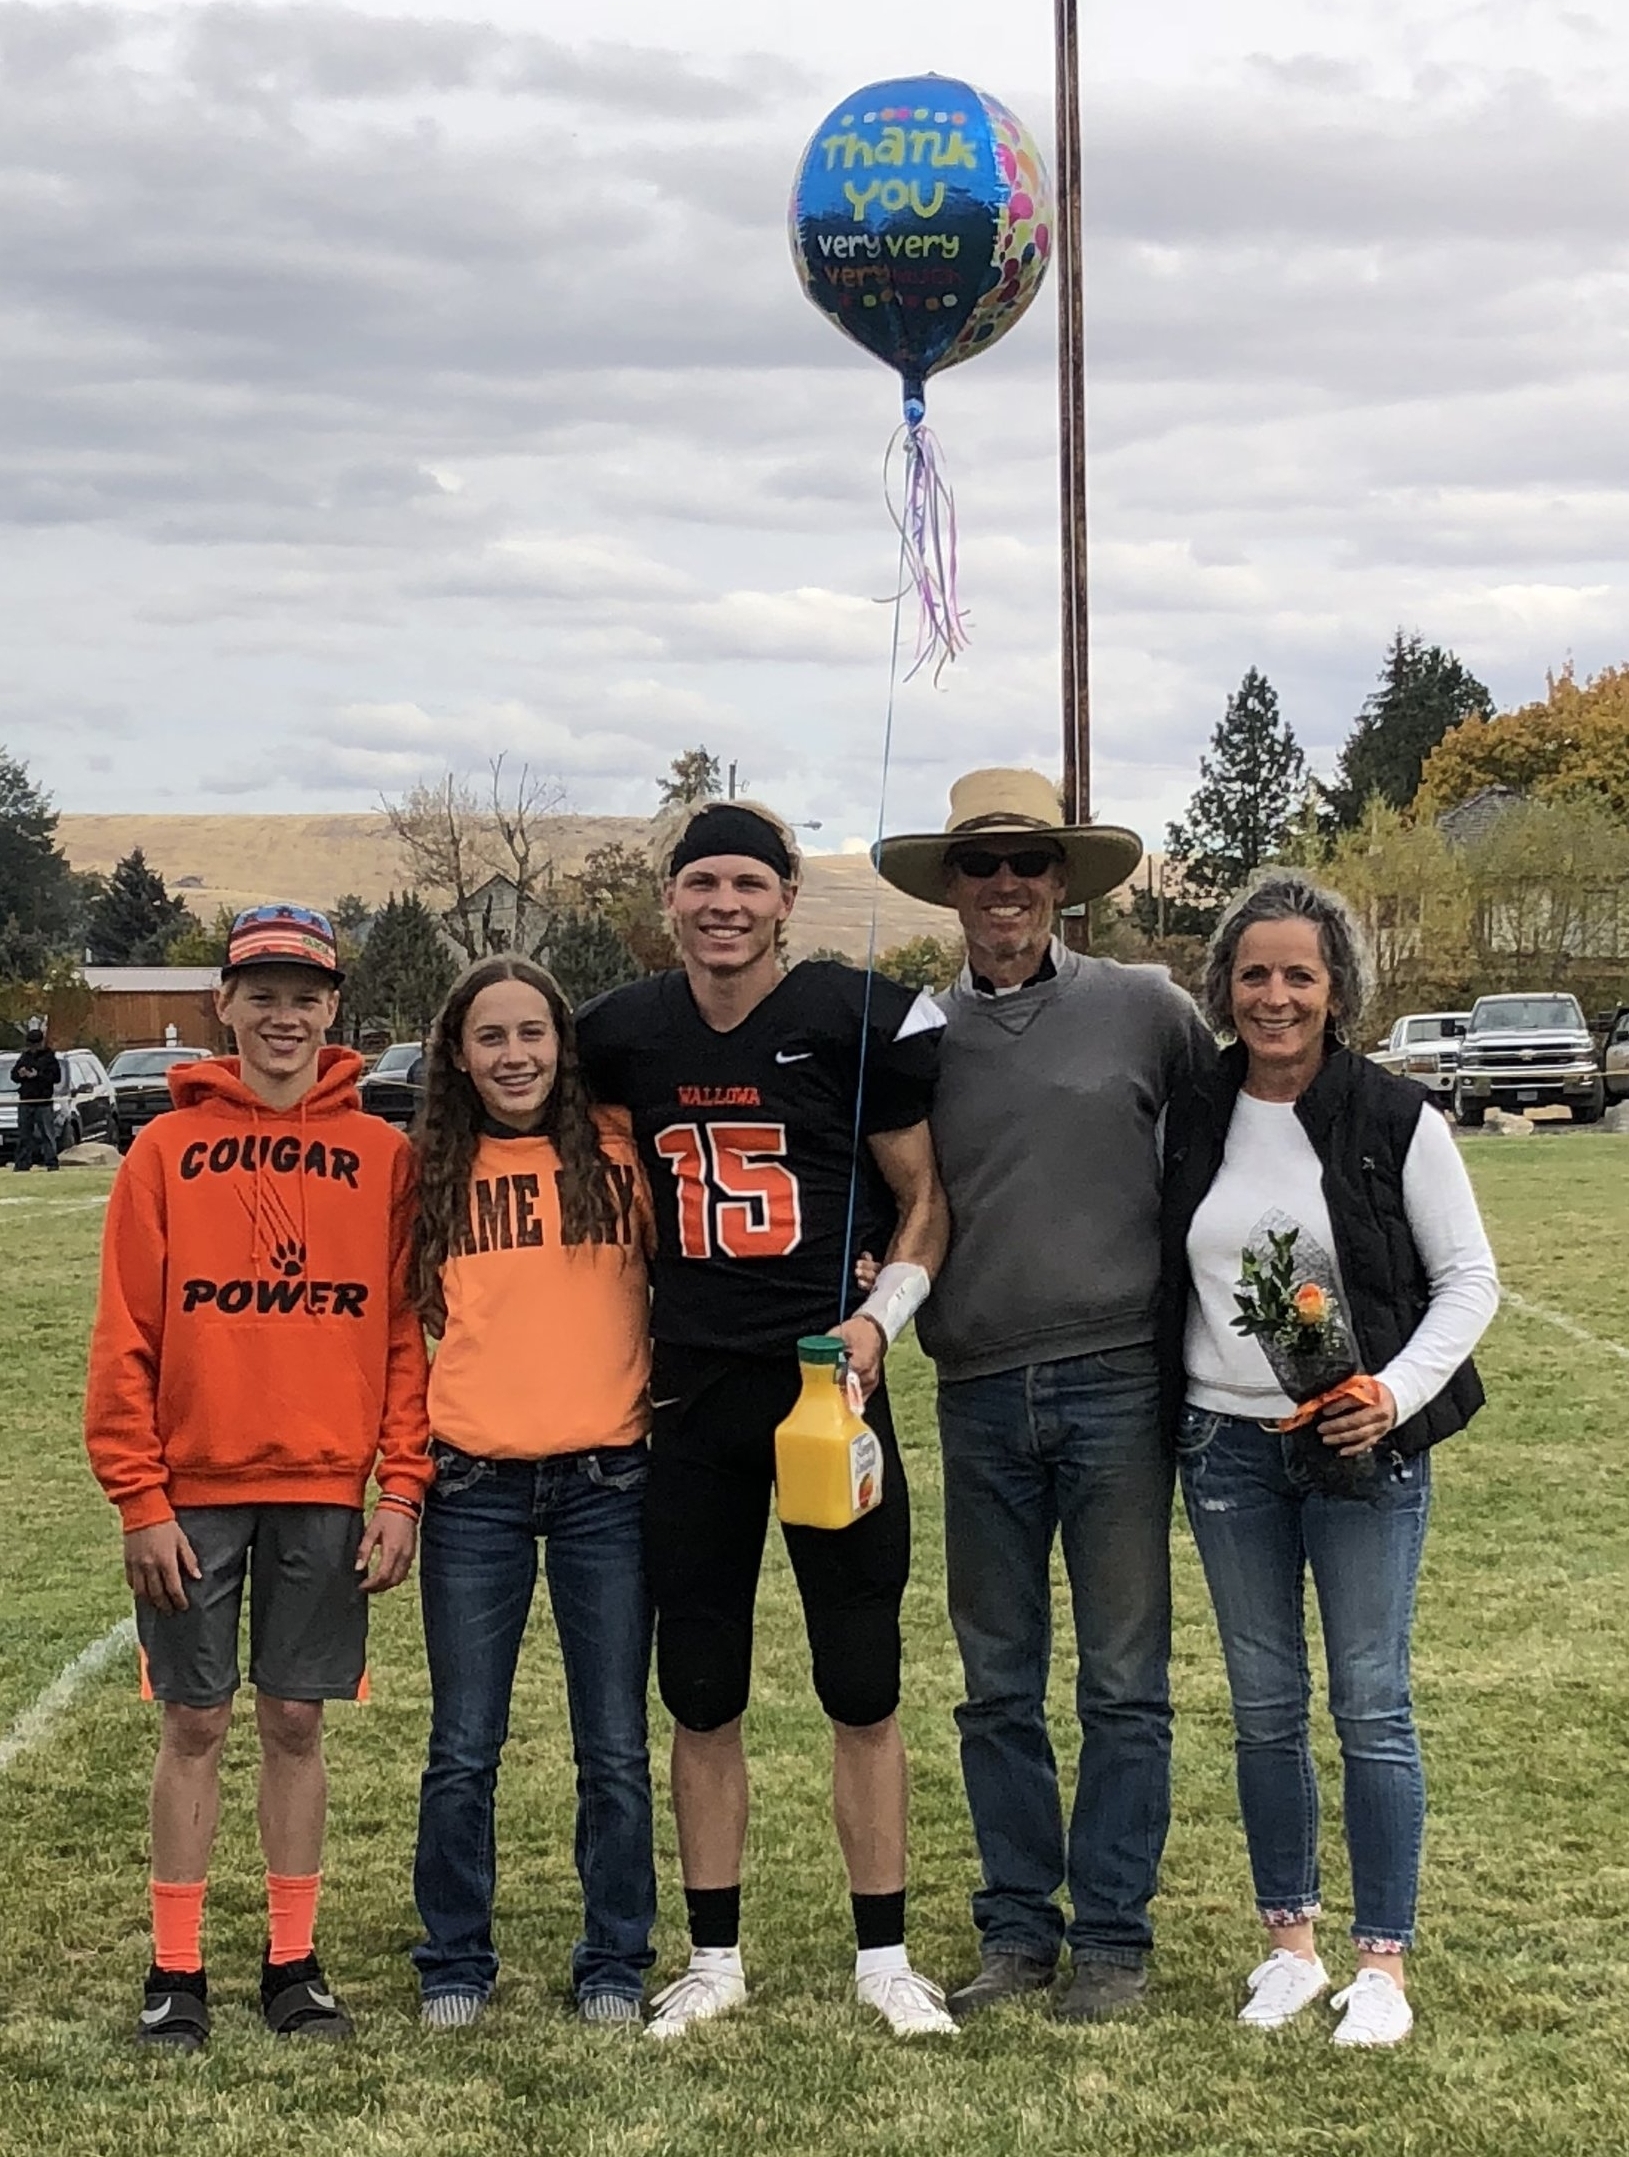
Wallowa football seniors - Gus with no shirt.

Gus senior game, last home football game.

This recipe is wonderful for those days when you know your evening may be hectic, but you want a delicious satisfying meal.
The ingredients can be put in the crock-pot in the morning, and by evening your family will be enticed by aroma and flavors beckoning them to the table.
INGREDIENTS:
3 pounds boneless grass-fed beef chuck shoulder roast
2 cups ketchup
1 medium onion, chopped
1/4 cup cider vinegar
1/4 cup dark molasses
2 tablespoon Worcestershire sauce
2 cloves garlic, minced
1/2 teaspoon salt
1/2 teaspoon black pepper
1/2 teaspoon dry mustard
1/4 teaspoon garlic powder
1/4 teaspoon red pepper flakes
Sesame seed buns, split
DIRECTIONS:
Cut roast in half and place in slow cooker. Created a sauce mixture by combining the ketchup, onion, vinegar, molasses, Worcestershire sauce, garlic, salt, pepper, mustard, garlic powder and pepper flakes in large bowl. Pour mixture over roast. Cover, and cook on LOW 8-10 hours.
Remove roast from sauce; cool slightly. Shred meat with 2 forks.

Place meat back into sauce. Stir to coat evenly. Add salt and pepper to taste. Cook an additional 15-30 min. or until hot. Spoon filling into sandwich buns and top with additional sauce.
Makes 12 servings.


Mexican Meatloaf:
INGREDIENTS:
3# ground beef
3 eggs
1 cup salsa
2 cups coarse crumbled corn tortilla chips
Optional additions:
1/2 cup chopped onions
1/4 cup chopped green chilis
1 cup Cheese - I use sharp
INSTRUCTIONS:
Line a lipped cookie sheet with aluminum foil - grease.
Pat out 1/4 of meat mixture, sprinkle with grated cheese, then pat 1/4 meat mixture on top
Create a second loaf in the same manner.
Bake at 350° for 45-50 minutes.
Serve with pickled jalapeños and catsup
Serves 10
We want you to enjoy the maximum value from your beef. So with that in mind, we wrote up a few of our favorite freezer tips.
Handle vacuum sealed bags carefully. They can puncture if mishandled. Place them one by one in the freezer instead of dumping them in! Some people keep a pair of gloves handy near their freezer for this procedure.

Beef organized nicely in a chest freezer
Organize your freezer with dividers/boxes/bins or bags. My freezer has four compartments made with plywood that fit perfectly. (But I have a handy hubby!) With that arrangement, I am able to sort by type of food and date. It helps me use what is in my freezer instead of letting items get buried in the bottom where I can’t see them.

beef In bins with labels in an upright freezer
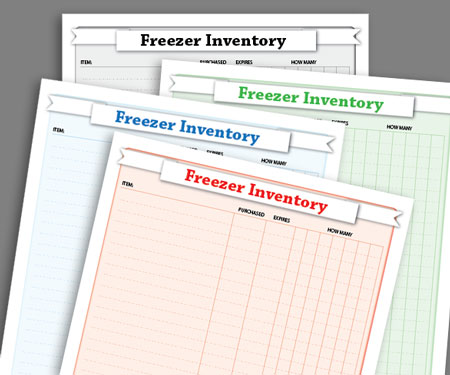
Jemena has an inventory list on her freezer doors listed by shelf. She does it on a dry erase board and marks items off as she uses them. We have a selection of freezer inventory sheets available for your use. As well as the labels shown in the photo above. (Offered with permission of 2Haveand2Fold.com)

In another chest freezer we use sturdy bags with handles to organize our storage. We sort by the type of meat, roasts, steaks, stew meat, burger, etc. The bags have labels on the outside and a snap on top. We put boxes of burger on bottom of freezer (same boxes we deliver your beef in!), then put bags on top of those boxes. Bags are easy to move aside to get into boxes.
We recommend our customers attempt to use their beef within a year from purchase. However, we have beef in our freezer from four years ago and we have never had a problem using it.
Taco night is a mainstay at our home. Quick to cook, easy to customize to each family members desires, and healthy when using low-fat grass-fed beef from Mountain Beef. What's not to love? Yet those aren't the only reason our family loves taco nights. This meal is also a secret weapon against a time-crunched world. Cooking a little extra taco meat one night can reduce meal prep to a simple reheat for family friendly "Pronto Nachos" the next night as well!
INSTRUCTIONS:
Add olive oil to pan, warm pan with medium heat till garlic sizzles when added.
Add garlic and onions and cook over medium heat, stirring occasionally till onions are softened.
Add Hamburger and cook, stirring regularly.
Stir in taco seasoning and continue cooking until meat is done.
INGREDIENTS:
MEAT:
2 lbs. hamburger thawed
2 Tbls. olive oil
1/2 cup chopped onion
1-2 Tbls chopped garlic
Taco seasoning (or customize your own.)
WRAP:
Corn or Flour Tortillas
- low carb option -
Use Lettuce for your crunchy low carb options!
TOPPINGS: (as desired)
Sour Cream
Cheese
Salsa
Chopped Olives
Shredded Lettuce
Cilantro
Onions
Mountain-Beef: Grass fed, naturally grown
Questions? Comments?
We love to hear from you.
Amy Ramsden
541-263-1515
ramsdenranch@eoni.com
Mark Ramsden
509-595-7080